Smart Updates for Your Manufactured Home Underbelly
It’s kinda scary under a manufactured home which is probably why it is often overlooked by owners. However, a manufactured home underbelly should not be ignored and will need some attention eventually. In this article, we get to read about a kind reader’s manufactured home underbelly updates.
What’s an Underbelly?
I have heard people call the area under a manufactured home and the black plastic attached to the bottom of it by many different names so it can be confusing.
Belly board, blackboard, Shepherd’s board, underbelly, belly wrap, and vapor barrier are commonly used to describe the black material attached to the bottom of a mobile home.
There are also other things under your manufactured home such as piers, pipes, footers, vapor barriers. We’ll quickly cover those too:
Underbelly
The term underbelly is mostly used to describe the entire area beneath your home but it is also used when referring to the black plastic sheeting attached to the bottom of your mobile home.
Mobile homes are constructed upside-down – or at least the floor is. The floor joists are nailed together, the ducts and water lines are attached, a thin layer of insulation is draped over the entire floor and a cover (the belly wrap) is installed. The steel frame is attached.
www.e3a4u.info
Belly Wrap or Belly Board
We use the term belly wrap or belly board when talking about either the black polyurethane sheet or the more durable fiberglass board that is attached to the bottom of your manufactured home. The insulation will be right above the belly wrap.
The black material enclosing the base of a mobile home is known by several names: bottom board, belly board or paper, black board, etc. Typically, the material used is asphalt-impregnated fiberboard or fiberglass, cloth or heavy tar paper, and woven polyethylene. All serve the same purpose: Prevent moisture infiltration.
Mobile Home Parts Store
The belly wrap is located between the home’s frame and the steel chassis. It protects the home from moisture and critters (it has an additive in it that repels them) and can help with energy efficiency.
If you have an older mobile home you will want to replace the belly wrap eventually. Materials have improved a lot over the years and chances are it has tears in it.
Piers and Footers
Piers and footers are the feet and legs that your manufactured home sits on.
The footers transfer the weight of a manufactured home down to the ground and are usually concrete rectangles (with rebar in the middle). However, there are also square ABS pier pads (mostly for homes in the southern US).
Concrete footers have to be poured below the frost line of your state so they don’t heave and shift. You can type in your zip code and see how deep your frost line is here.
Piers are the concrete blocks between the footers and chassis (we always called them cinderblocks in WV but I’ve been told that is so so very wrong). They sit on the footers and must be stacked in a certain way for strength and stability.
Vapor or Moisture Barrier
A vapor barrier or moisture barrier is another plastic sheet that is laid on the ground to reduce water vapor from reaching your home. It can be any color but clear and black seem to be the norm.
If your manufactured home is on a full concrete pad it won’t need a vapor barrier since the concrete acts as a vapor barrier..

Regardless of what we label all this stuff, they are all vital to a manufactured home’s longevity and overall health and should be updated after a few years.
Chuck’s Experience Updating His Manufactured Home Underbelly
My friend Chuck recently had his 1980’s model manufactured home underbelly completely updated. The piers, insulation, belly wrap, and vapor barrier were all repaired and/or updated. Luckily, he was kind enough to take photos and notes so he could share them with us (I owe you big time, Chuck!).
“While I was finishing the last major remodeling project of our home, I needed to go under the home to install new water lines since I moved the location of the sink. My short inspection of the underbelly revealed holes, rips, and approximately 45% of the fiber insulation had fallen down and was resting on the ground,” he explains.
“I realized that this project was beyond my DIY skill level so I called in the professionals. All that material found on the bottom of my manufactured home has been there since the mid-1980s. I now wonder how much energy I have paid for in utility bills that have been wasted.
“The purpose of writing this article is not to educate or guide you on “how to do it yourself.” It’s mainly to remind homeowners of the importance of having your manufactured home’s underbelly properly maintained and to share my experience.
“After meeting with several mobile home insulation contractors, I discovered that the cost of the project varies greatly depending on the installation methods and quality of materials. I ultimately decided on TLC Anchor and Barrier, a local company that is owner-operated – meaning the owner was onsite for the entire project.”
Smart Updates for Your Manufactured Home Underbelly
Installing new insulation and properly attaching a new belly board to the underbelly is probably one of the most difficult repairs on a manufactured home because there’s little room to work.
Here are the steps that Chuck’s contractor did to update his underbelly:

Step 1: Removing the Old Belly Wrap and Insulation
Of course, the first step to a manufactured home underbelly update is to remove the old belly wrap and insulation.
It’s a dirty job so be prepared.
Make sure to wear protective gear such as goggles and a face mask so you don’t inhale the old insulation particles.
Step 2: Repair Sagging or Weak Subfloor
Now that you have easy access to the entire underbelly of the home it’s a great time to repair or replace your manufactured home’s subfloor. There were just a couple of weak spots in Chuck’s subfloor so they just screwed 2x6s into the wooden joists to stabilize it.
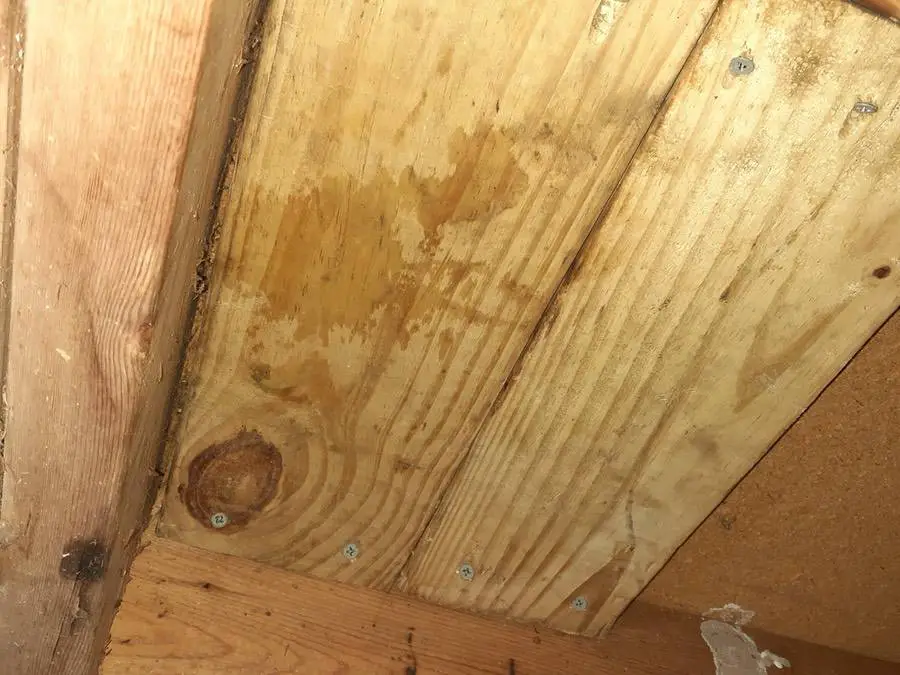
2x6s used to stabilize soft spots in floor.
Step 3: Install the New Insulation
The third step is to install new insulation. Chuck used R-19 John Manville Fiber Glass Insulation that would fit between the floor joists.
Most belly boards have to be tacked at the edges and allowed to hang in the middle since it would be impossible to install it as they did in the factory.
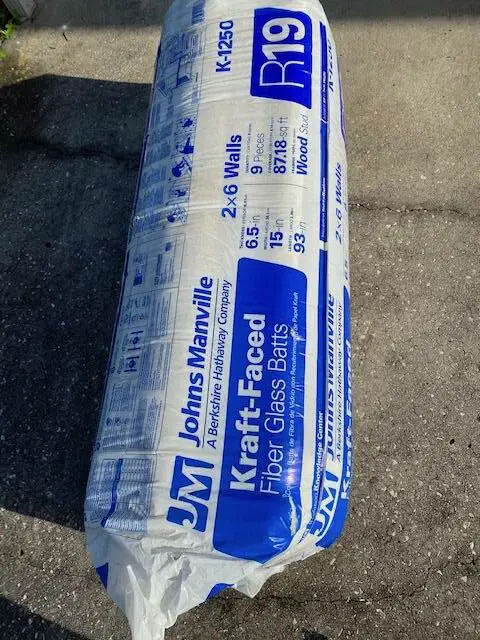
New Insulation Installed in Manufactured Home Underbelly

Step 4: Check Footers, Reset Fallen and Leaning Piers and Broken Leveling Shims
Piers will lean and even fall over if the ground sinks or shifts just a bit. The leveling shims can also soften and rot.
Step 5: Inspect and Repair Anchor Ties
Anchor ties are critical for your manufactured home and need to be in tip-top shape, especially in hurricane and tornado prone areas. It’s a good idea to inspect them every year.
First, the mobile home is checked to ensure it is level. You can learn more about leveling a mobile home with a water level here. Second, the anchors, or the rods that are in the ground, are checked for damage. The tie-downs or straps and the tension devices are also checked. You’ll want to ensure the stabilizing device on the anchors are healthy as well.
Step 6: Install the New Belly Wrap
After the insulation is installed you can install the new belly wrap or belly board. I would recommend the more rigid fiberglass belly board if possible but a new 6-ply polyurethane belly wrap is fine.https://0a3e887bcf2c6828f0db4c53cb1a0940.safeframe.googlesyndication.com/safeframe/1-0-38/html/container.html
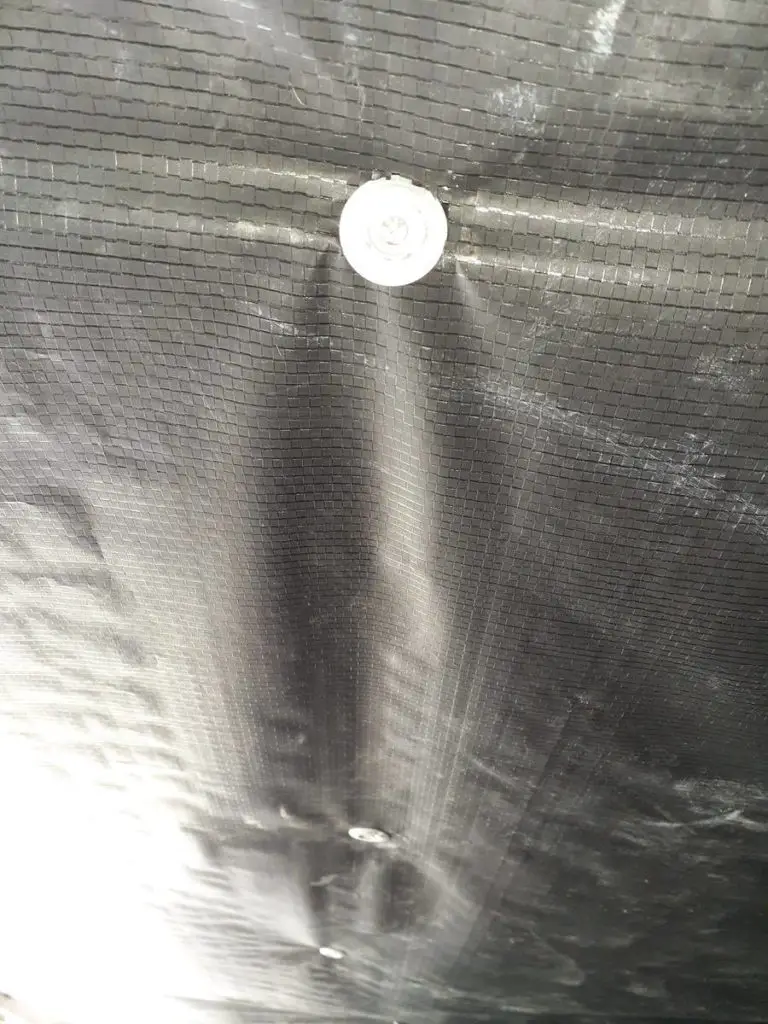
You can attach the new belly wrap with 1 ¼ “ Grip Tite Metal Nails.
Step 7: Secure and Seal Pipes and Ductwork
Pipes and ductwork tend to sag under most manufactured homes and get worse over time. Before the belly wrap is sealed around the pipes and ductwork make sure they are off the ground (using straps or blocks) and at proper grade, if needed.
This is also a good time to add insulation under and around the pipes and ducts.
You can actually strap and block the pipes and ducts anytime throughout the project but contractors could knock them out of grade while working.
Finally, it’s time to seal around the pipes, wires, and ductwork. There is a patching tape for belly wraps that works well.
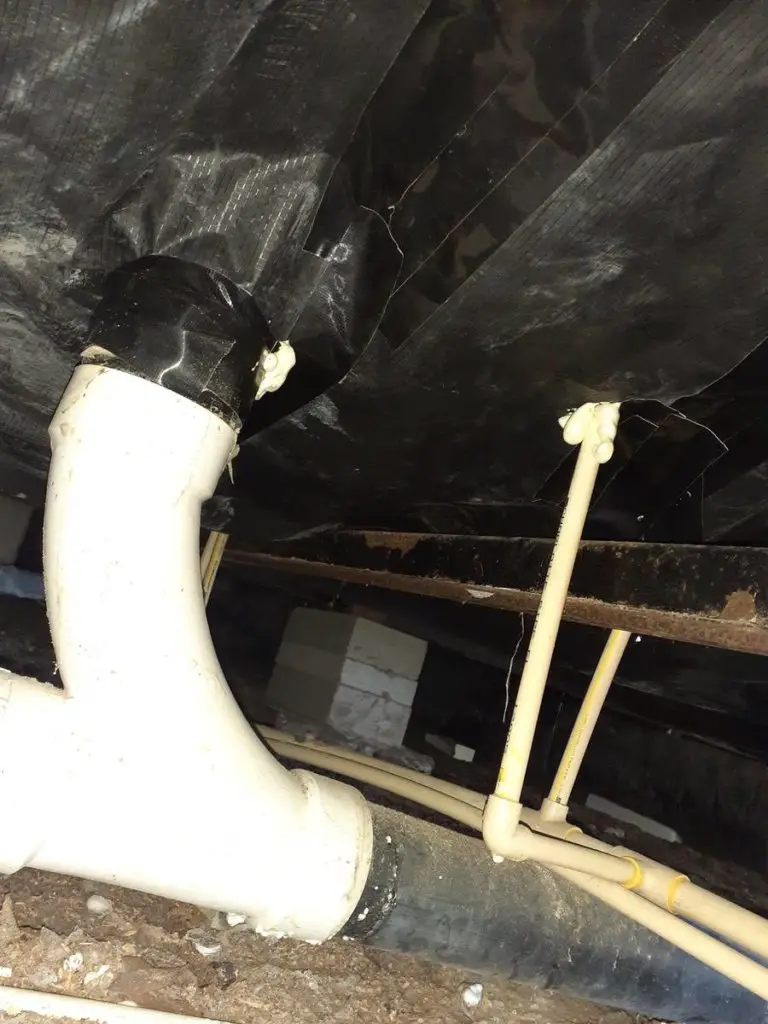
Manufactured Home Underbelly Updates are Immediately Noticeable
The entire project only took two days from start to finish and Chuck said the manufactured home underbelly updates were noticed almost immediately.
- The temperature of the floor while walking in bare feet feels even throughout the house.
- The number of run cycles for the air conditioner during the day has been reduced and the length of run cycles has been considerably shortened.
- The humidity level within the home has been reduced providing for a much improved and comfortable environment during the hot Summer.
Chuck says he considers this improvement as an investment in comfort, home preventive maintenance, and energy savings.
Thank you, Chuck for sharing your manufactured home underbelly updates. Your kindness will surely help a lot of people!


